| |
QuickTip for LSCM UVs (Unwrap 3D Pro)
Often, when dealing with seams,
a problem arises if a vertex shares more than one UV coordinate. LSCM UVs may not unwrap the model as expected. To solve this problem, Unwrap 3D Pro provides a handy tool called
Mark Boundary VEdges By UV. This tool will mark all vertex edges by the UV boundary of the face selection. When a vertex edge
is marked, it will be cut prior to unwrapping, allowing the vertices along that edge to have its own UV coordinates.
Here is a quick example of using the Mark Boundary VEdges By UV tool.
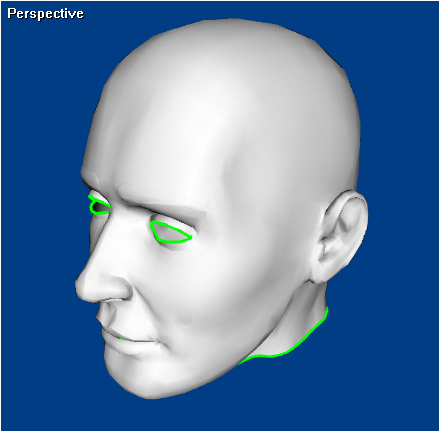
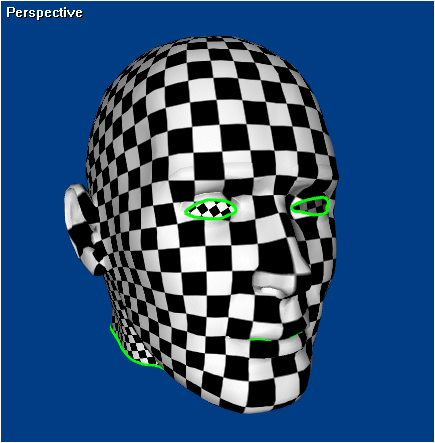
Let's say we wanted to unwrap a head model using LSCM UVs. Typically, we would use the Seam tool
to mark the vertex edges where we want to unwrap, all by hand. A quicker way is to take advantage of the Mark Boundary VEdges By UV tool.
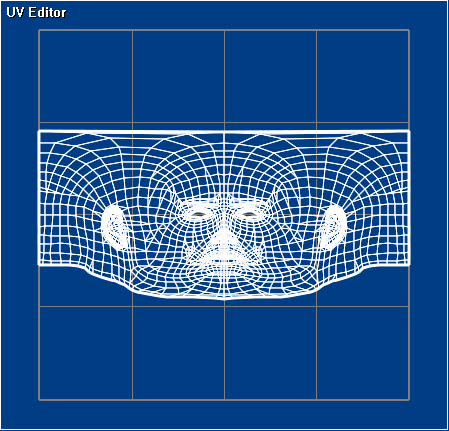
First, we need some quick UVs. Click Ctrl+A to select all faces, then click 2D Tools | UV Mapping | Spherical.
The UVs will be unwelded, so weld them using 2D Tools | Weld UVs. Welding UVs is necessary to create a UV boundary:
Now, click Ctrl+A to select all faces again, then click Edit | Seam | Mark Boundary VEdges By UV:
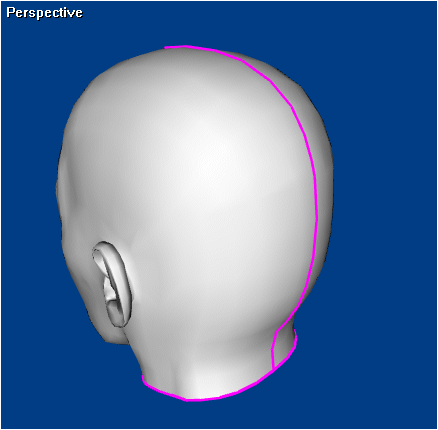
As you can see, the UV boundary was converted into marked vertex edges. A magenta colored edge means that vertex edge is marked for cutting.
Now, click 2D Tools | LSCM UVs:
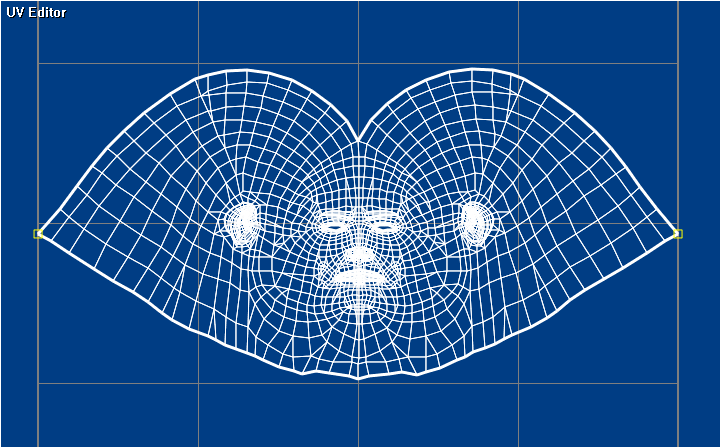
Our entire head model is now unwrapped. Note that we locked two boundary UVs to make the unwrapping more symmetrical.
That's it! If you have any other questions about LSCM UVs or marking vertex edges, please let us know.
|
|

