| |
QuickTip for Shading UV Maps
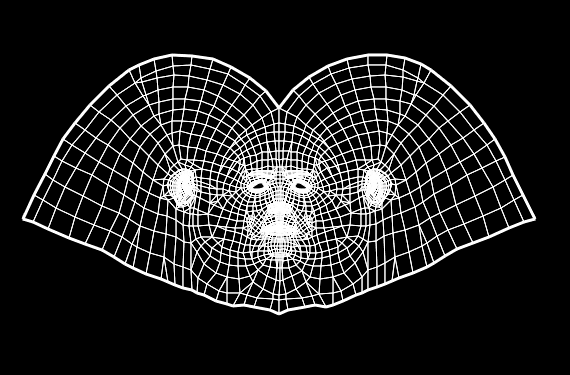
Typically, when you are done unwrapping a model, the UV map is exported as a wireframe bitmap for painting:
But, let's say you wanted to get a rough idea of how it might look already painted, with subtle shadowing. One way to do this
quickly is using vertex colors to shade your UV map.
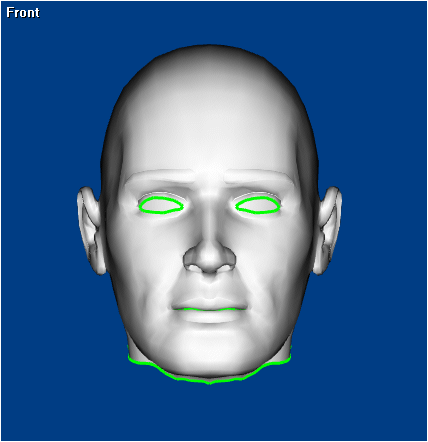
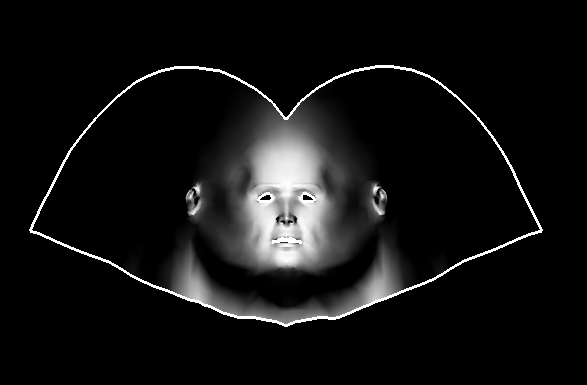
For example, let's say we wanted to shade the head model below. First, let's setup the camera by switching to a front view. Right-click on the Perspective text in the 3D viewport
to bring up the context menu, and choose View | Front. Or use the hotkey F:
Now, click Ctrl+A to select all faces, then click 3D Tools | Vertex Colors | Autoshade:

Select the options Directional lighting and Camera direction. Click Apply.
Now, switch back to a perspective view (hotkey P) and turn on vertex colors (hotkey V):
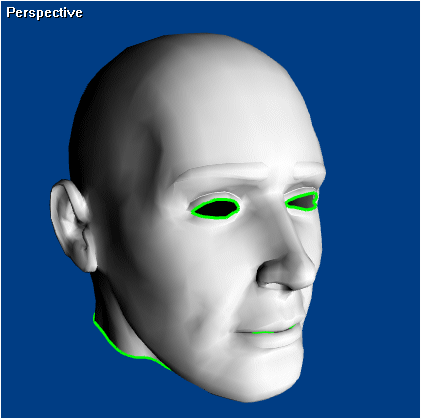
As shown above, the front of the face is now shadowed using vertex colors.
Now, let's export it. Click File | Export | UV To Bitmap:
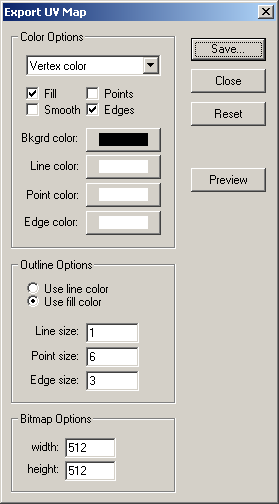
Select Vertex color, and check the color options Fill and Edges. Then, select the outline option Use fill color.
If you did it correctly, the UV Map should now look like this:
Now, you can import this shaded UV map into a Photoshop layer, and use it as a guideline for painting shadows.
That's it! If you have any other questions about shaded UV maps, please let us know.
|
|

