| |
Tutorial for Seaming A Shirt (Unwrap 3D Pro)
For this tutorial, we will go through the basic steps of seaming a shirt for unwrapping.
Seaming Example
On the main toolbar, locate the pencil icon. If you don't see it, click Window | 3D Tools to make it visible.
We will be using this button to toggle seam picking on/off:

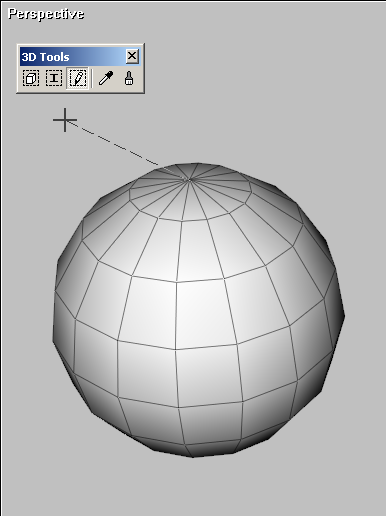
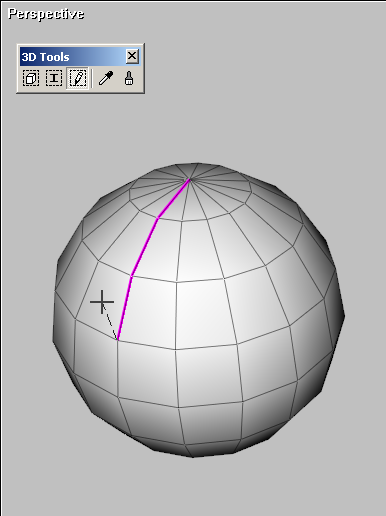
To understand how the seam picking tool works, first create a simple sphere, Create | Sphere. Then, click on the
seam picking tool to enable it. The cursor should turn into a crosshair. Now, click on any vertex to start seaming.
After clicking on a vertex, a dotted line should appear. To continue seaming, click on any other vertex. This marks
a seam between the two vertices, using the shortest path. We can continue seaming until we are done.
If we need to rotate the camera view, we can use the right mouse button. If we need to translate the view, we can use
the middle mouse button while seaming.
To toggle off seaming, click on the pencil icon button.
You may ask yourself, ok, so what are seams good for? They are used to create cuts on the model for unwrapping.
This will be shown below in detail.
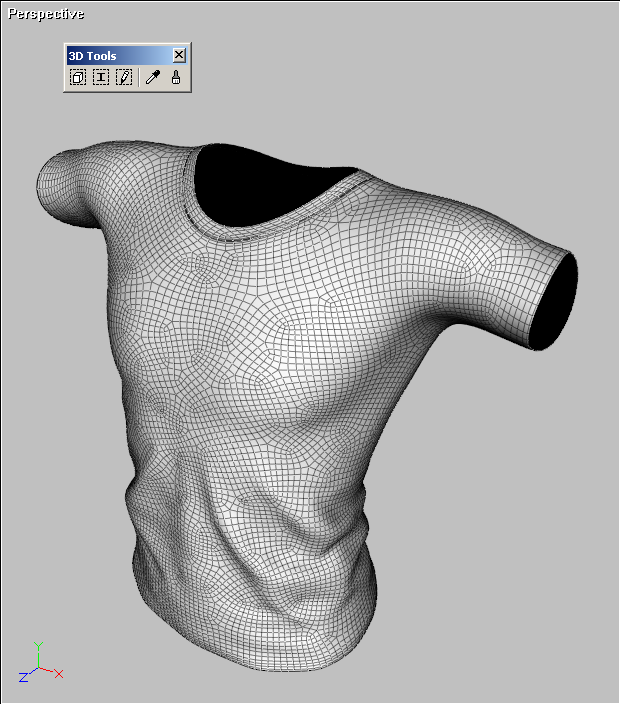
Shirt Example
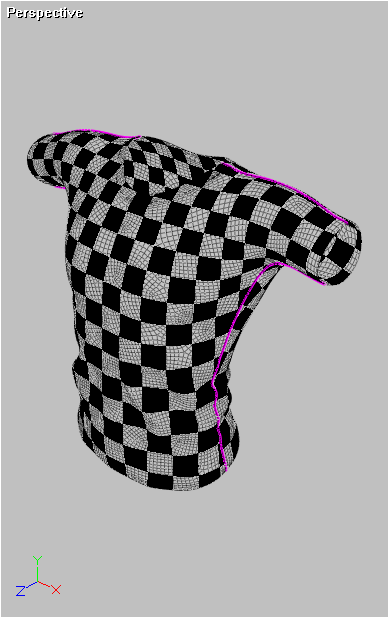
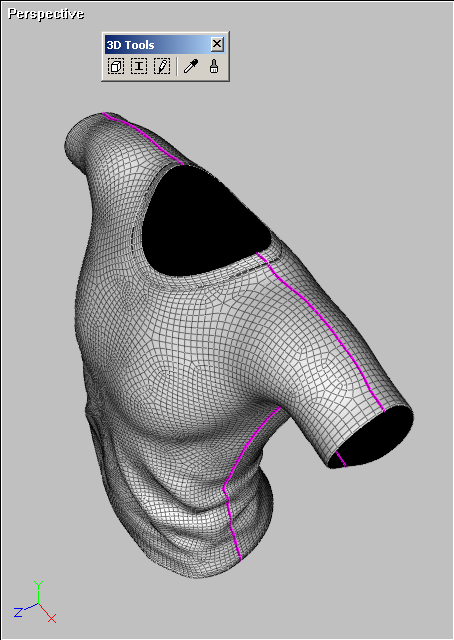
Let's try to seam something more practical, such as a shirt. When seaming clothing like shirts, most artists
usually separate the front and back, by placing a seam along the side edges, where the seam is less noticeable. Also,
they may detach the sleeves around the armpit area.
For beginners, it may be easier to visualize your seams by sketching them out:
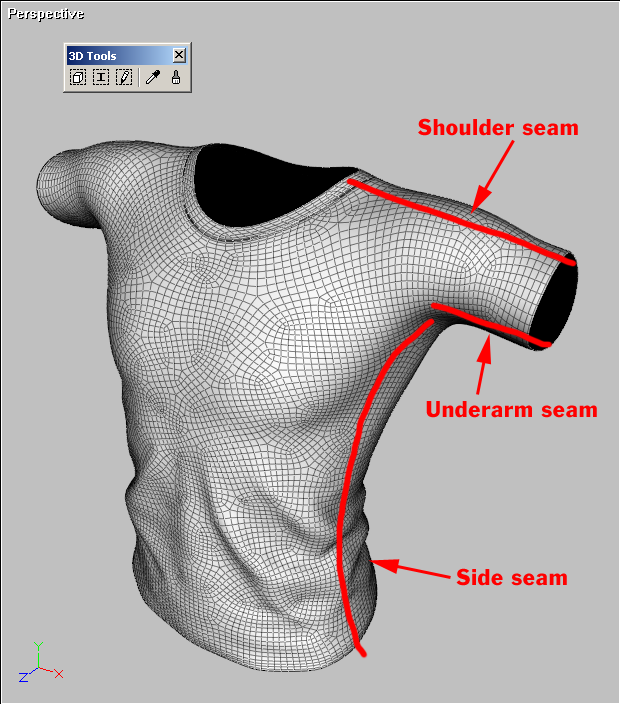
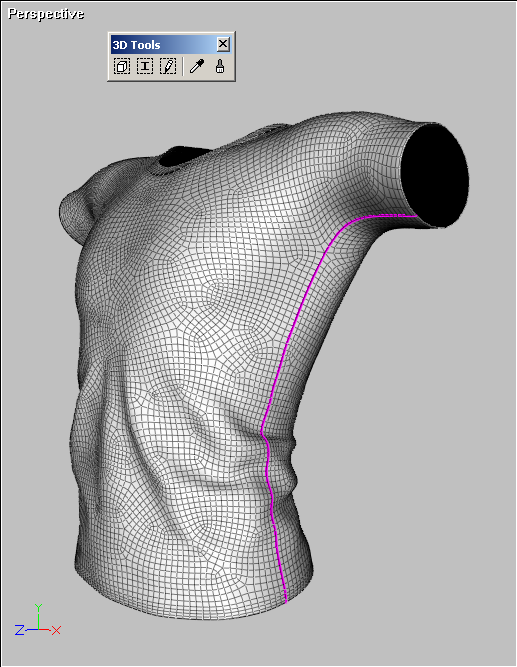
When figuring out where to place seams, it's usually best to place them along edge loops, if possible.
So, begin by picking a continuous edge loop that travels from top to bottom, on the shirt side.
When working with edge loops, it's possible to speed up seaming by selecting the entire edge loop, then marking it.
To select an edge loop, first select any edge along the loop, then click Select | 3D | Edge Loop.
Then mark your selection with Edit | Seam | Mark Selected VEdges.
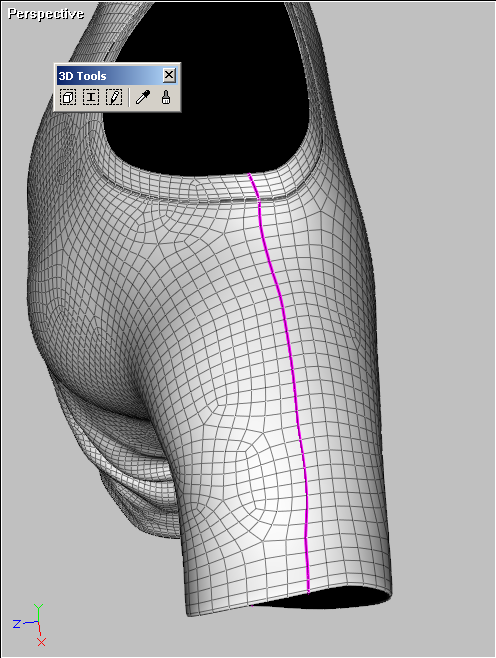
Next, select an edge loop on the top of the shoulder and mark it:
At this point, we have seamed one half of the shirt. Now, repeat the process for the other half:
Unwrapping
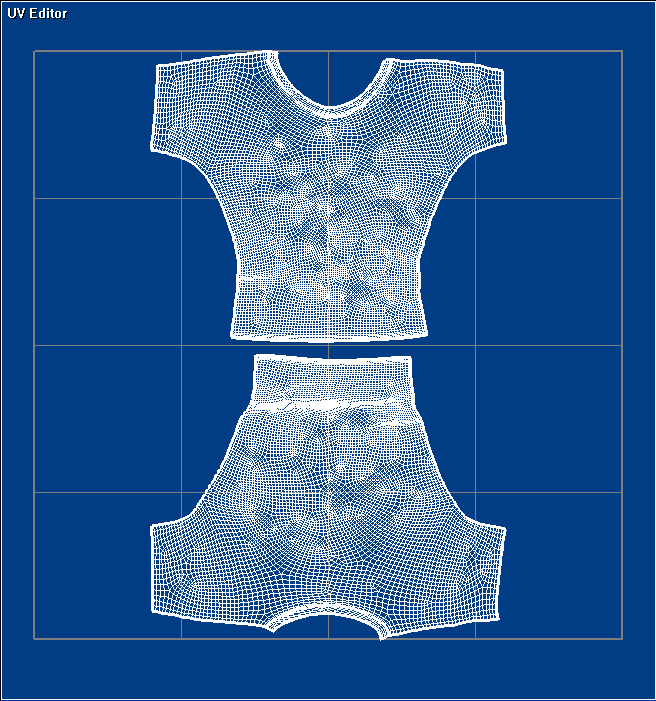
The seams we marked above should separate the front and back of the shirt completely. Let's unwrap it.
Click Ctrl+A to select all faces, and click 2D Tools | LSCM UVs:
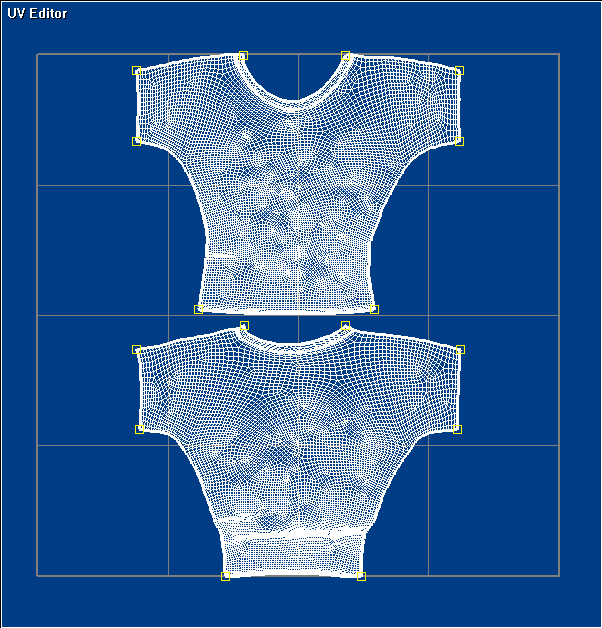
Looks good so far. We can clean up the UVs by rotating the bottom part around. As a tip, to select an entire UV island,
first select a single face, then click Select | 3D | Grow All. This is assigned to the plus keypad hotkey (+) by default.
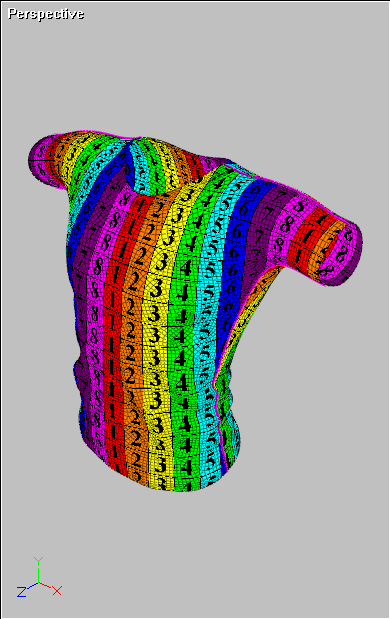
To check for distortion, assign a checker texture to our faces. To see if our UVs are facing in the correct direction,
we can also assign a marker texture:
After unwrapping, you may notice the UVs are not perfectly symmetrical. As a fix, we can first straighten, then pin UVs on opposite sides of the shirt,
and run the LSCM UVs tool again. Pinned UVs are locked into place, which should force LSCM to unwrap our UVs into a more symmetrical pattern.
For more information on straightening and pinning UVs, see the LSCM UVs tutorial.
That's it! If you have any other questions about seaming, please let us know.
|
|
|